File Categorization Collections
What Is It?
This module allows you to organize your files into Collection Groups and sort them by different categories. A dedicated view page is automatically created when you create a Collection Group. This module is not enabled by default on all sites. A request will need to be made to Campus Web Solutions.
The module adds Collection Groups to the Structure options. Once a collection group is added, it automatically creates a corresponding Taxonomy where you can then set the terms. These taxonomy terms will be used as the sorting mechanisms for the files. The files will be displayed by category with the date of upload and can optionally be linked to an additional external source. Finally, there is a status feature, another set of taxonomy terms, to display statuses of your choosing.
Hypothetical Example of Usage
The Human Resources department has various pdfs covering policies and procedures. Each are labeled under a specific category such as "Compensation", "Employee Development", and "Campus Polices". While these can simply be uploaded to Drupal and then linked on a page with headers or under separate accordions, this Collection Group will display these documents on one page with a search feature by keyword or by category. For the status taxonomy terms, these policies can be set up as "UC Wide" or "UCR".
How to set it up
Scenario for the below "how to" guide: You’re a music albums collector organizing the albums you’ve already acquired and those that are still in your wishlist by genre. The Collection Group will be called "Music Collection", the Taxonomy terms for "Categories - Music Collection" will be the genres. The Taxonomy terms for "Status - Music Collection" will be either 'acquired' or 'wishlist'.
Create a Collection Group
-
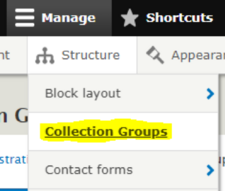
Login to your site and if the UCR Collections module has been enabled, you should be able to see Collection Groups under Structure
-
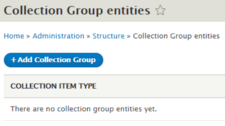
Once on the page, click on “+Add Collection Group”
-
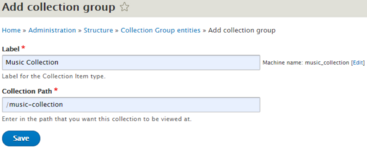
Give your collection group a label and a collection path and hit save. The collection path is where you’ll be able to see your collections.
Create Categories for your collection
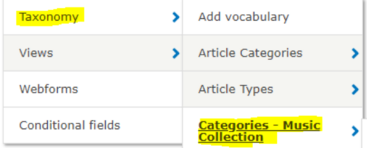
It is important you create your Collection Group first because new menu items for taxonomy will be created automatically:
-
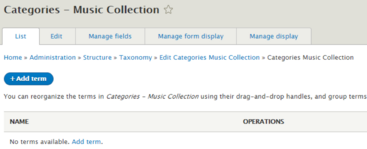
Go to Structure > Taxonomy > Categories - [Collection Group]
-
Click on “+ Add term”
-
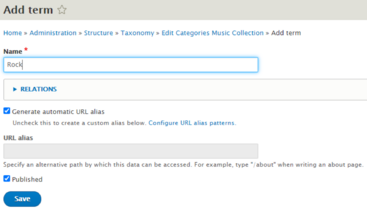
Create the appropriate categories for your collection group. You can have as many as you want. I’ve created Rock, Jazz, Indie, and Lofi hiphop categories.
Create Status for your categories
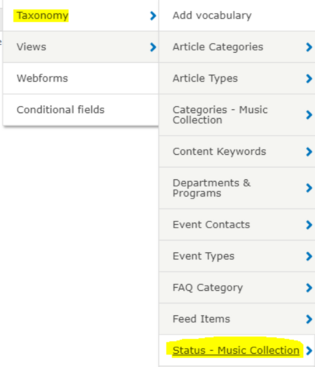
- Go to Structure > Taxonomy > Status - [Collection Group]
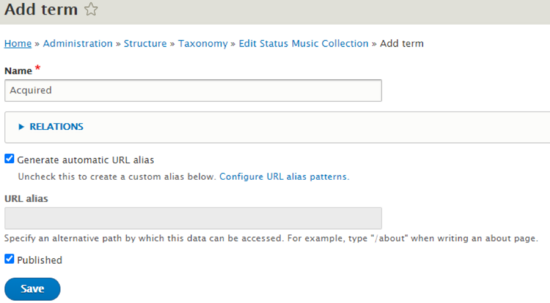
- Click on ”+ Add Term”
- Give your status a name and click save. For a music collection, I want to know what albums I’ve already acquired and what’s on my wishlist
Add Items to your collection Group
-
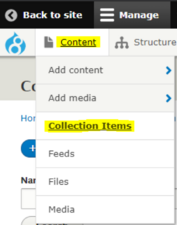
Go to Content > Click on Collection Items
-
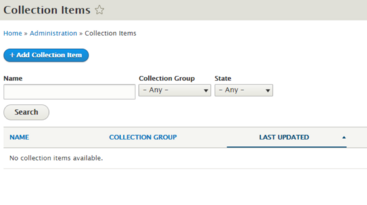
Click on “+Add Collection Item”
-
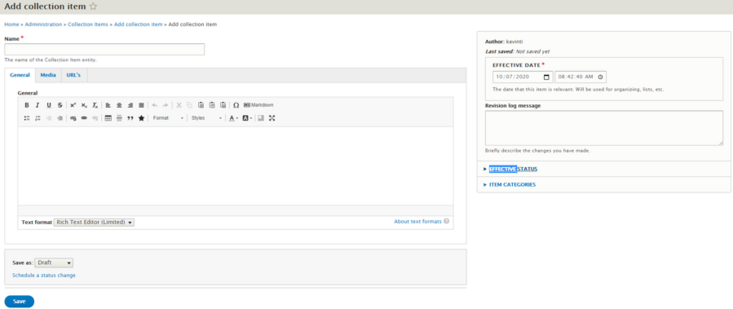
Give your collection item a Name. Required.
General. This is optional, but if you wanted to say something about the item you are adding, you can put it here.
Effective Status. Will be a drop down of the statuses you created in step 3.
Item Categories. Will be where you decide what category or categories this collection item falls under. -
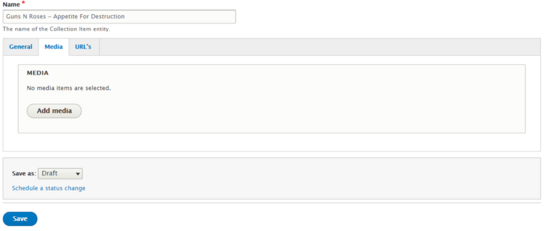
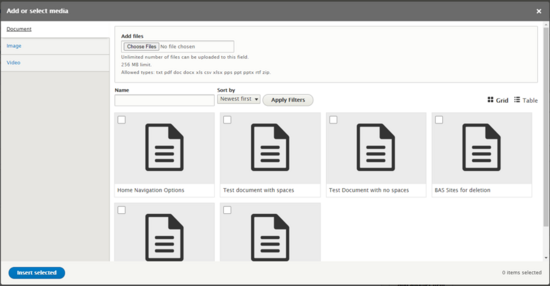
Importantly, in the media tab, this is where you can choose an already existing file or upload a new one. Click on ” Add media”
Here you can upload a file or select an existing one. Click “Insert selected “ when you’ve made your choice. -
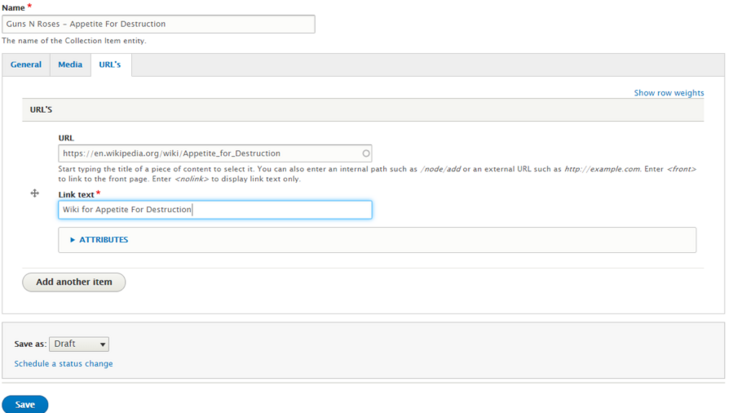
Optionally, you can also add URLs that can provide more details about this collection item. Click on the URL’s tab
-
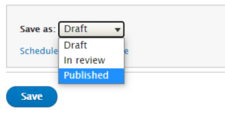
Once everything looks good, select ”Published” from the workflow dropdown and hit save.
View your collections page
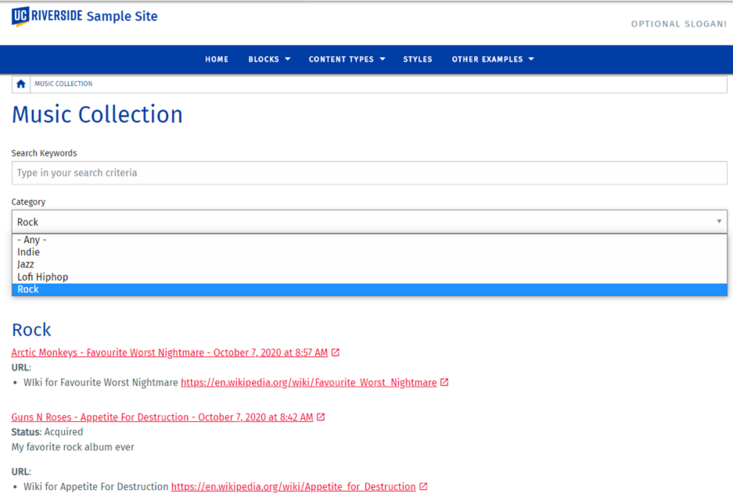
On your browser’s address bar, add the collection path you defined in step 1 (in the example, you would add /music-collection to your site's root)
You will be redirected to the dedicated view page of your Collection Group.
You can sort by the categories you created or search for specific keywords.
